Prepared by: A-Plus Buddy Eric & A-Plus Buddy Ela
Last updated: Jun 28, 2025
Time to Repaint Your Rusty Gate?
Here’s what you need to know to do the job right—and enjoy a beautiful gate that won’t rust again!
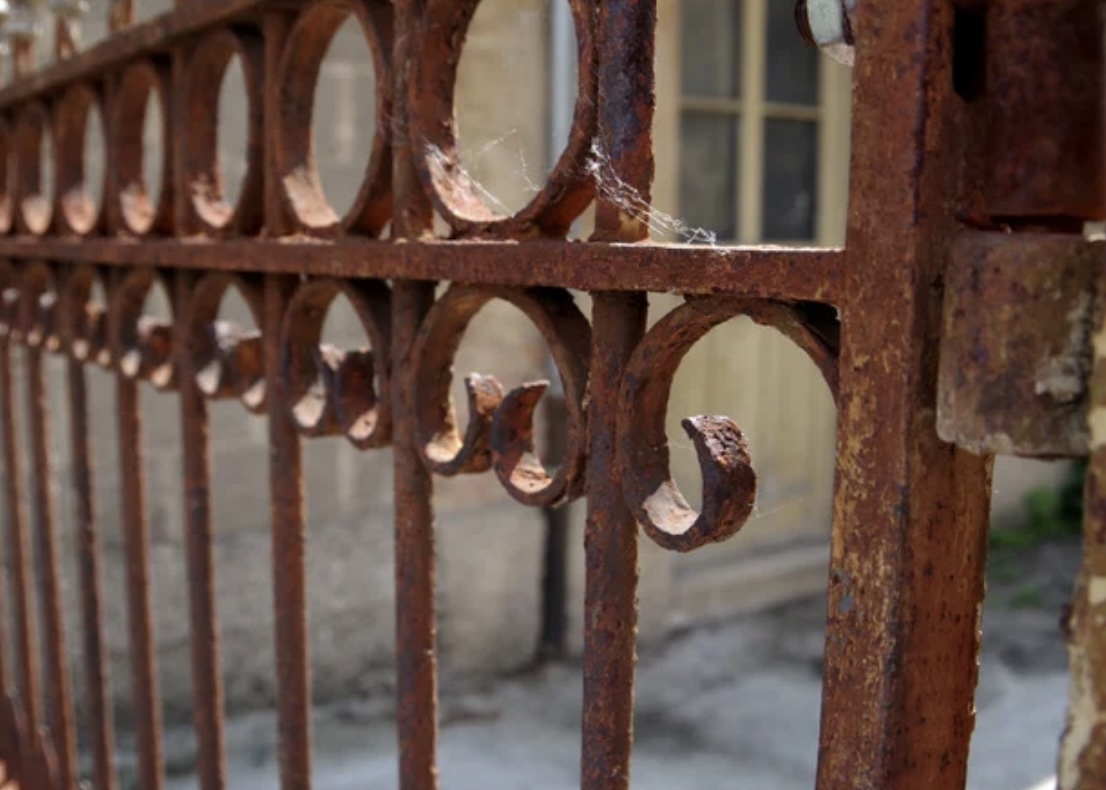
Let’s face it: a rusty old gate is an all-too-familiar sight in many neighborhoods. A faded paint job might still be tolerable, but when rust starts eating away at the bottom parts, it’s a clear sign that your gate needs a proper repaint—not just for looks, but to save it from further damage.
Read on to learn how to give your gate a much-needed facelift, what materials you’ll need, and how to do it right (even if you’re going DIY!).
- Getting Started
The task might feel daunting at first—which is probably why you’ve been procrastinating. Hiring a professional painter may seem ideal, but finding someone available, affordable, and reliable isn’t always easy.
And then there’s the tempting shortcut:
“Simple lang ‘yan! Patungan na lang ng pintura. Ok na yan!”
But if you just slap new paint over rust and old layers, you’ll likely end up with peeling paint, uneven results, and more rust in just a few months.
Good news: With the right steps and products, repainting your gate isn’t that hard—especially if you can find someone to lend you a hand. Here’s a four-step process you can follow for a proper and lasting paint job:
- The 4 Steps to Repainting Your Rusty Gate
Step 1 : Easily remove old paint with a Paint Remover
Step 2 : Treat the rust with a rust converter that will turn your rust into a dark protective coating.
Step 3 : Apply a protective layer of epoxy primer to protect from rust and promote adhesive of new paint.
Step 4 : Top Coat with a durable
solvent based paint such as A Plus Quick Drying Enamel
These are simplified steps of course but once you understand these steps and find an extra hand to help you do the job, you may end up with a satisfactory result at a reasonable cost!
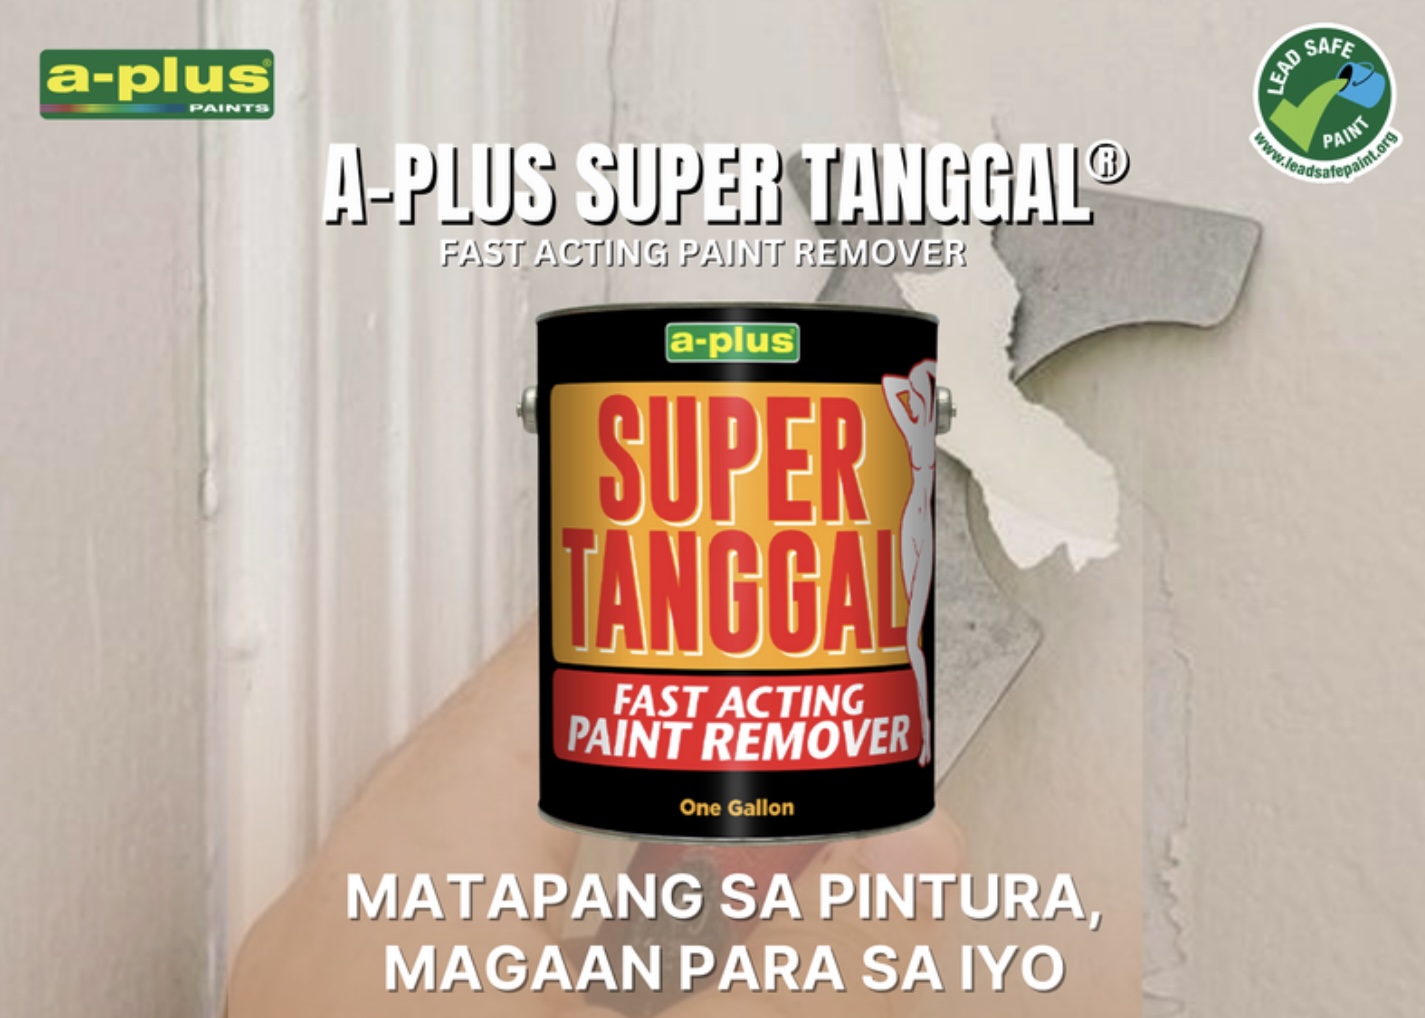
Step 1: Remove Old Paint with A-Plus Supertanggal® Paint Remover
You might be tempted to just paint over your old gate—but please don’t! Unless your gate was recently primed and painted properly, painting over it will lead to poor adhesion and future peeling.
But don’t worry, modern solutions exist! Instead of sweating in the sun scraping old paint manually, use A-Plus Supertanggal® Paint and Varnish Remover.
How to Use:
- Apply on old painted surfaces.
- Wait 10 minutes, you’ll see the paint wrinkle and lift off.
- Scrape off the wrinkled paint using a putty knife or spatula.
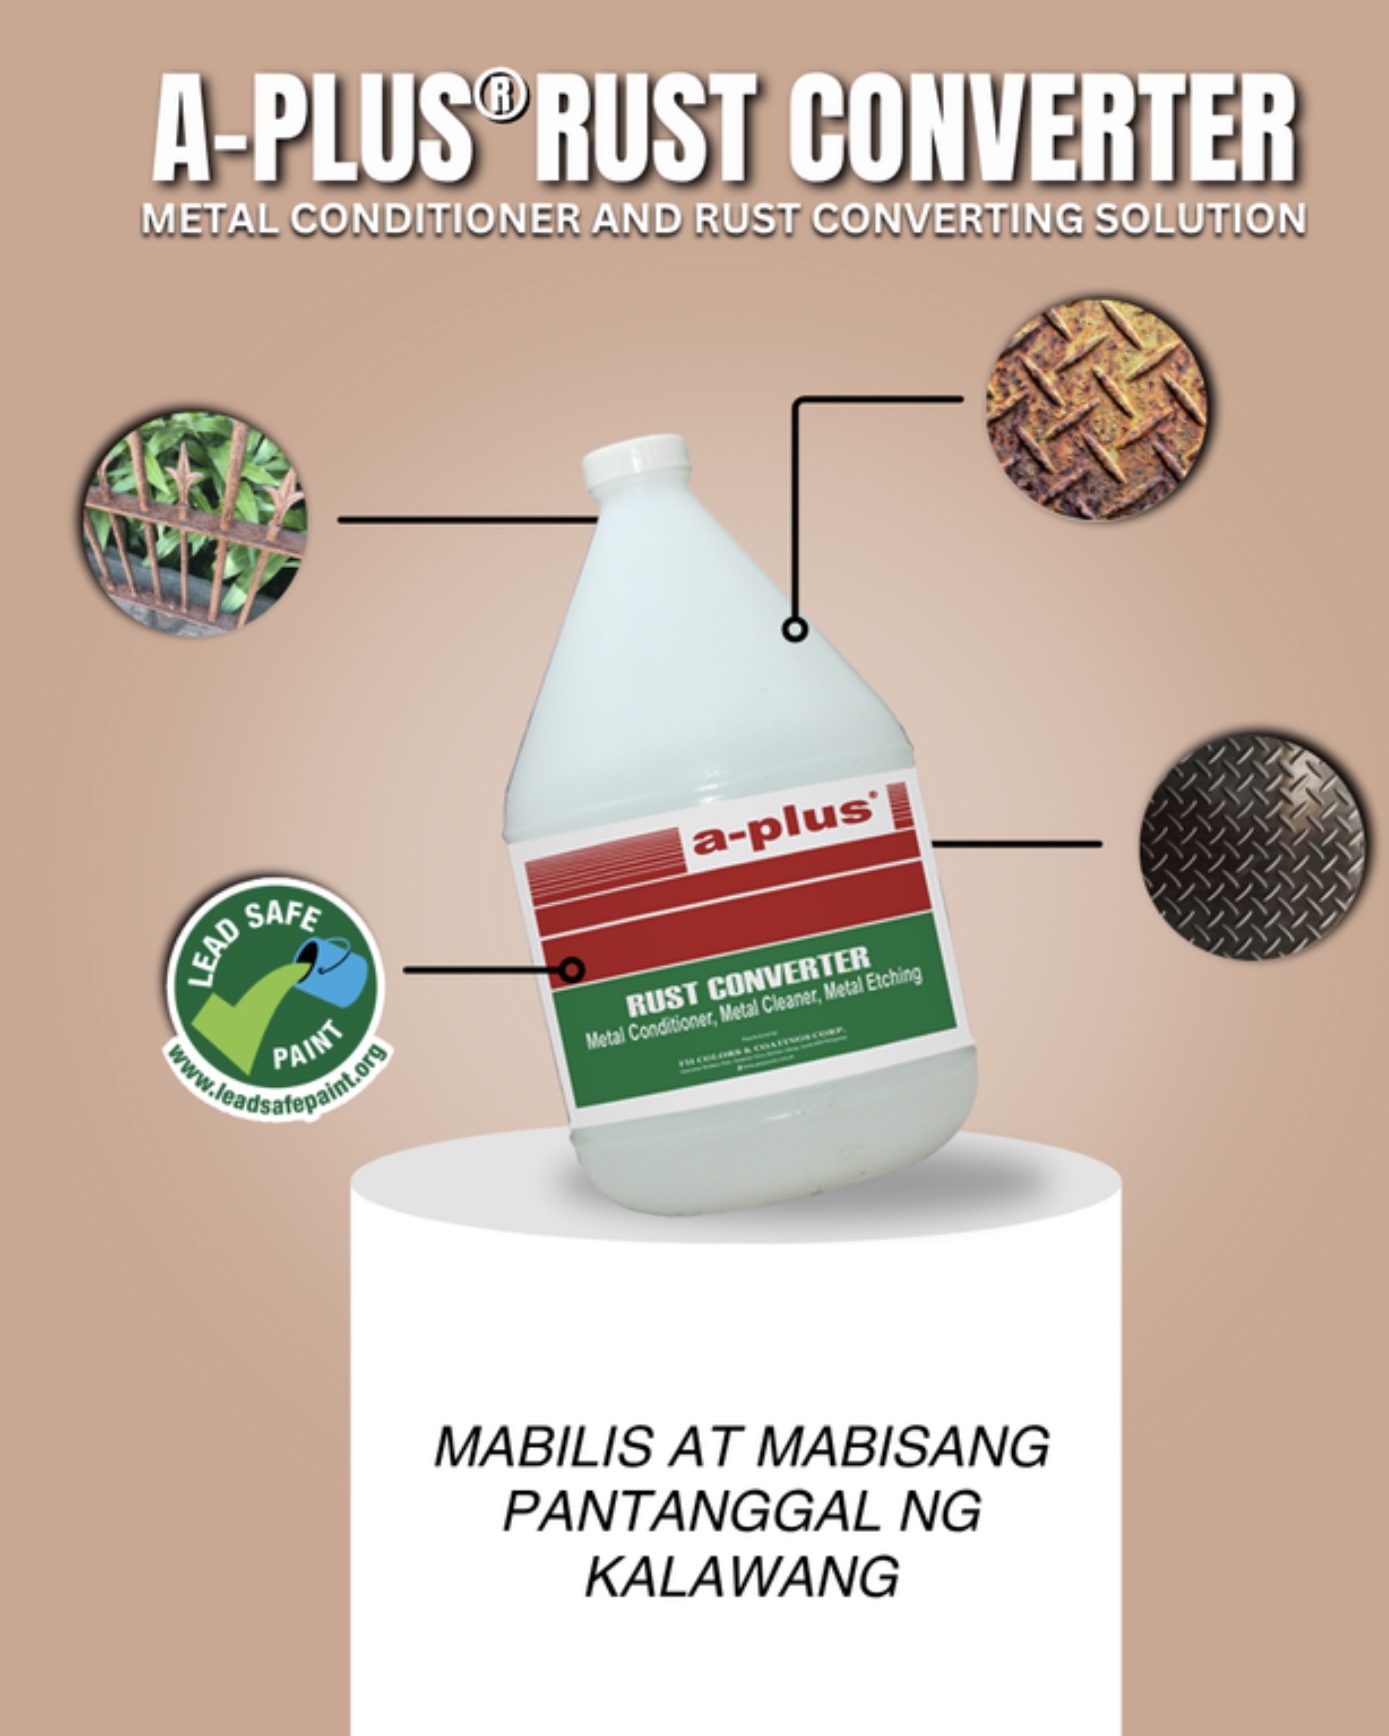
Step 2: Treat Rust with A-Plus® Rust Converter
Once the old paint is gone, it’s time to tackle that nasty rust.
Use a steel brush and sandpaper to remove as much rust as you can. You don’t need to remove it all—just most of it.
Then, apply A-Plus® Rust Converter directly onto the rusty spots.
What It Does:
- Chemically converts iron oxide (rust) into iron phosphate, a black protective coating.
- Stops further corrosion and improves paint adhesion.
Tipid Tip: Only apply rust converter on areas with actual rust—there’s no need to apply it on rust free metal.
Step 3: Prime with Glazer Galva-Plus® Epoxy Primer
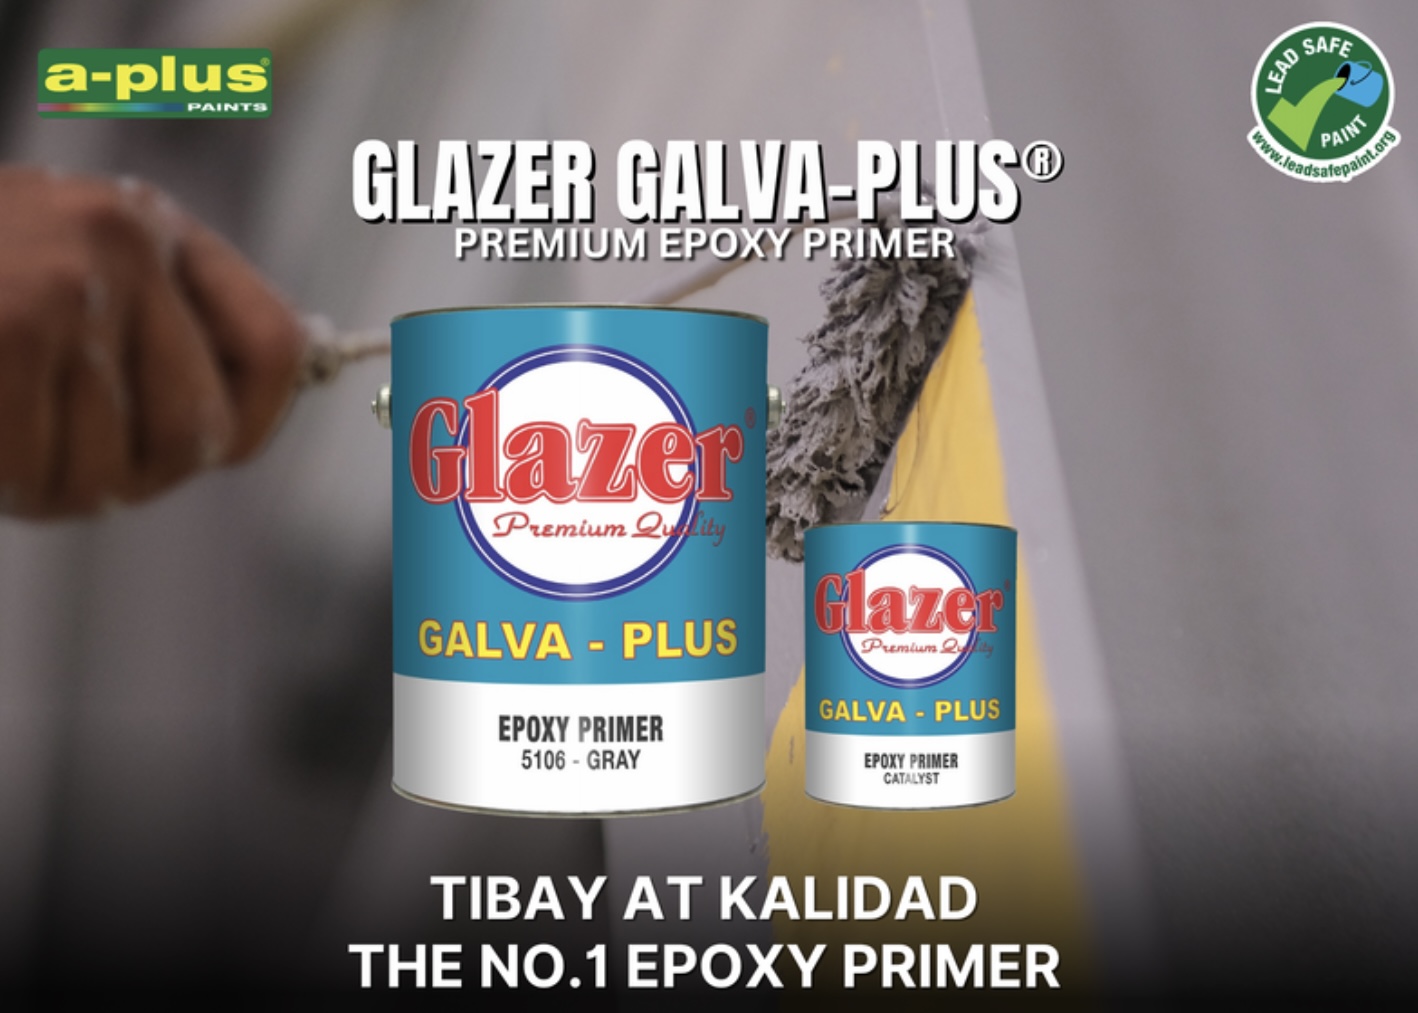
Now that your surface is clean and rust-treated, it’s time to prime. This step protects your gate and ensures that your topcoat sticks for the long term.
Use Glazer Galva-Plus® Epoxy Primer, a two-component epoxy primer that offers excellent corrosion resistance and adhesion.
Epoxy primers typically come in gray or red oxide (reddish-orange).
Some might stop at the primer to save money—but don’t skip the topcoat. Epoxy primers are not UV resistant and will degrade when exposed to sun.
Step 4: Topcoat with A-Plus® Quick Dry Enamel
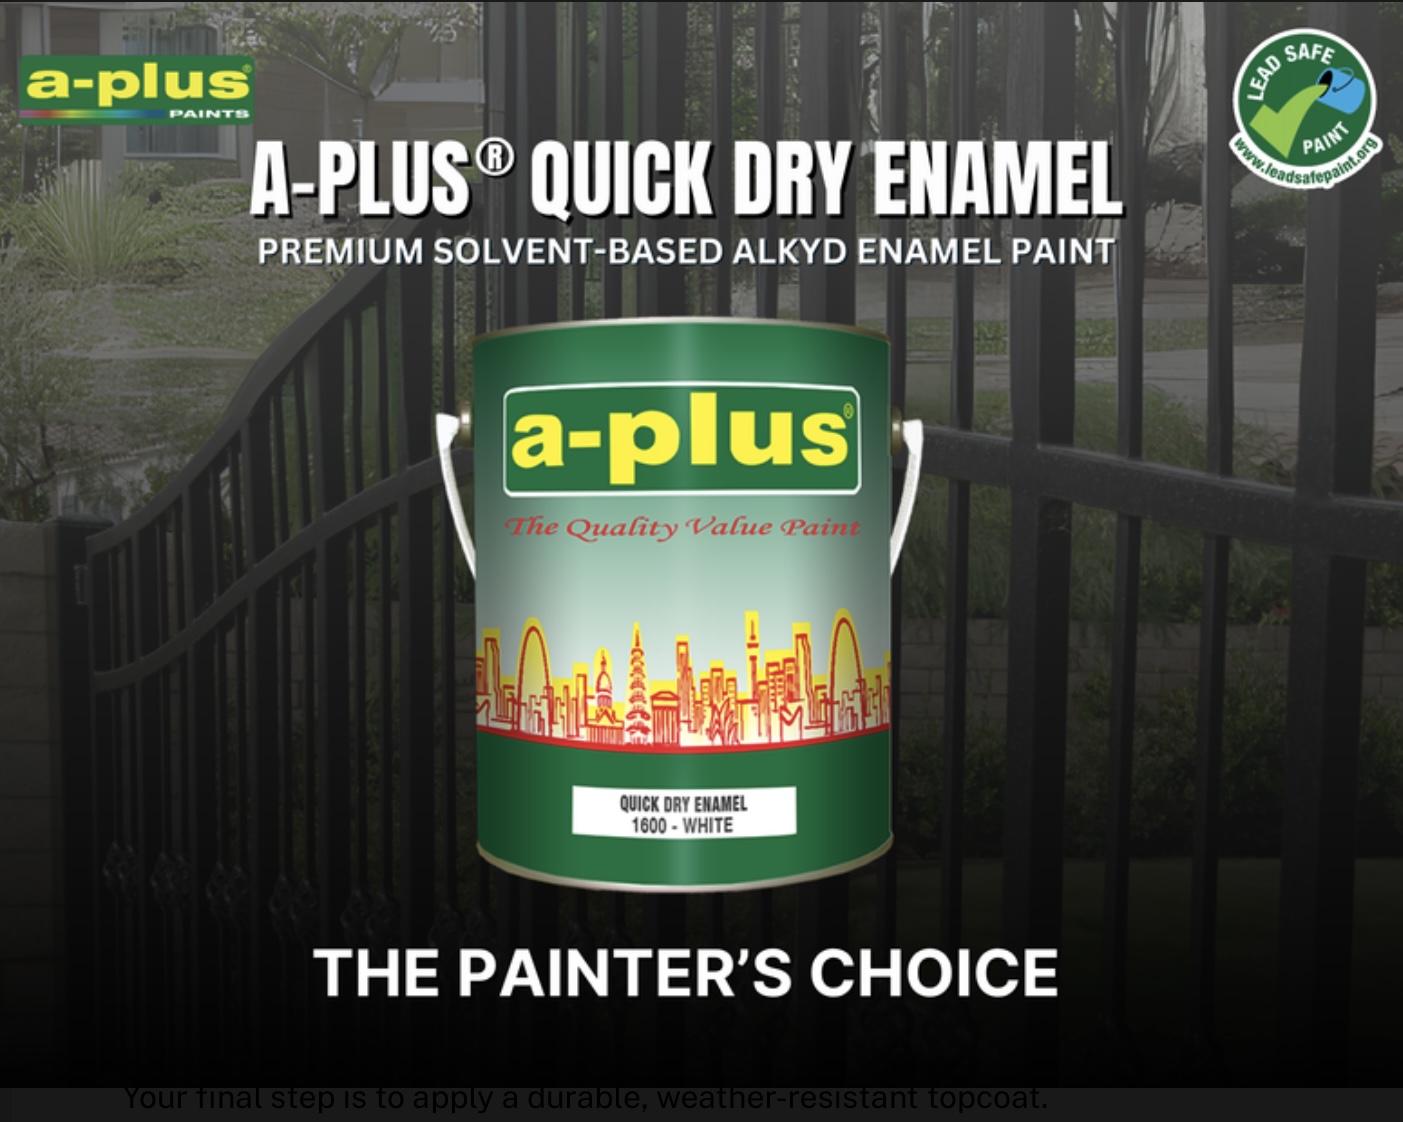
Your final step is to apply a durable, weather-resistant topcoat.
Use A-Plus® Quick Dry Enamel, an oil-based paint that is:
- Economical
- Easy to apply with a brush or roller
- Fast drying
- Lead-free (safe for household use)
It cures into a glossy, tough finish with excellent hiding power.
Application Tips:
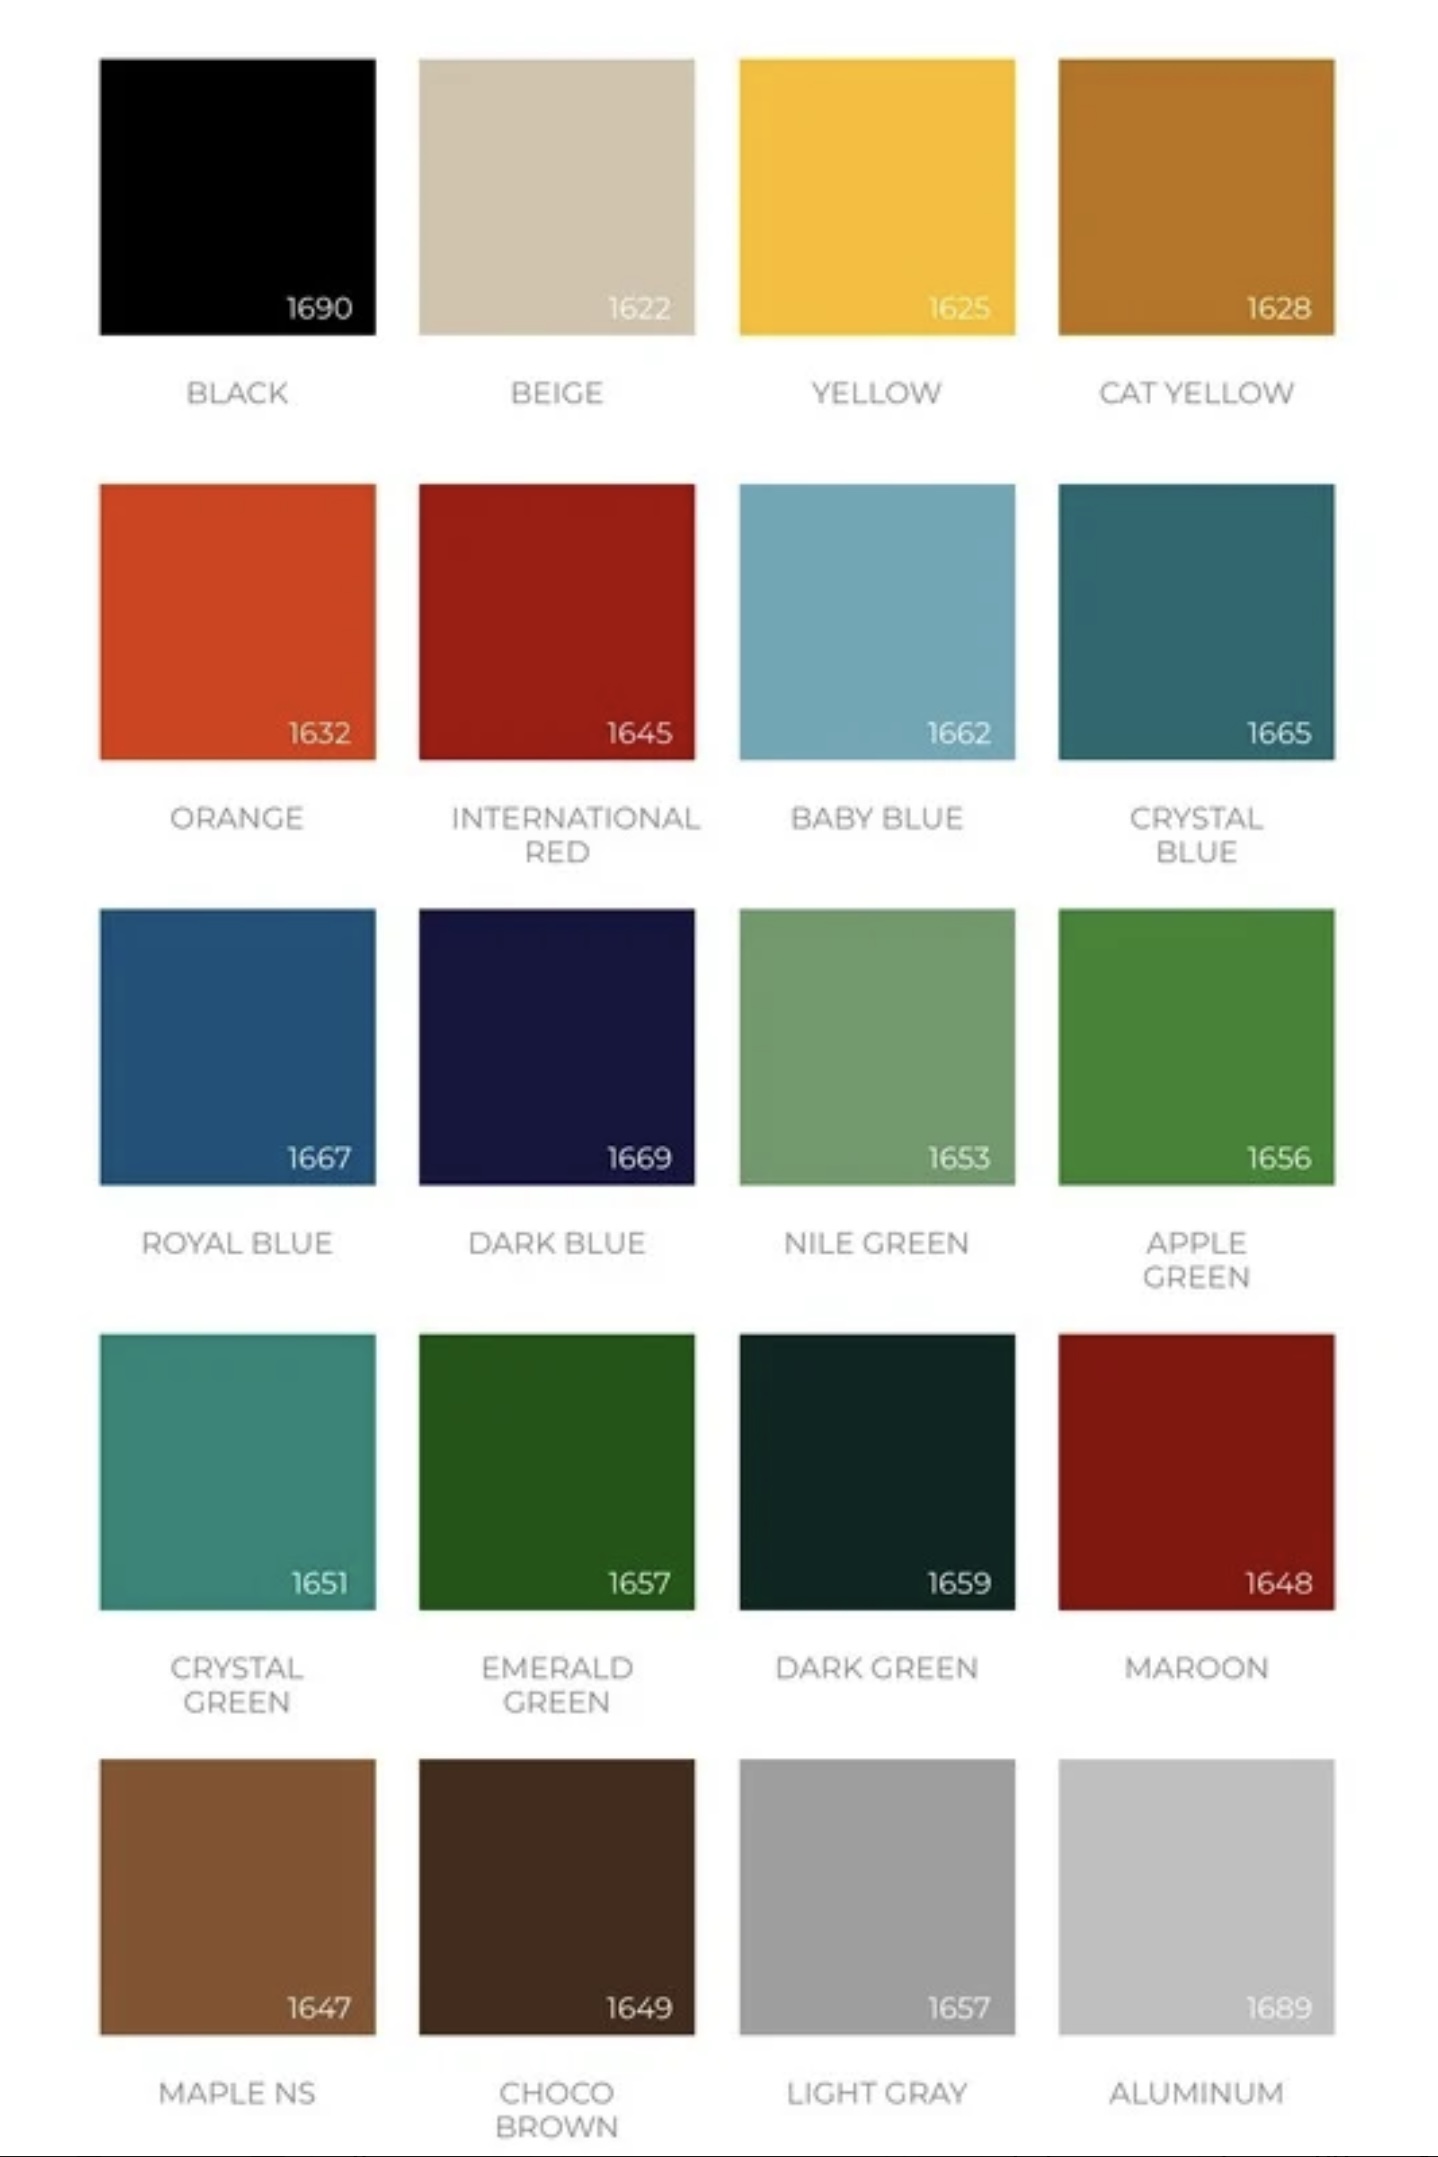
- Choose from 20 factory-mixed colors or have a custom color mixed at your nearest home depot or paint center.
- Apply 2–3 coats for best results.
- Allow 6–8 hours drying time between coats.
🎨 QDE Color Options:
📌 In Summary
That’s it!
Repainting your gate the right way might take a little more effort, but it’s worth it. Cutting corners might save you a few hours today, but will cost you time, money, and results in the long run.
“Our desire to do things quickly often gets in the way of doing them thoroughly and properly.”
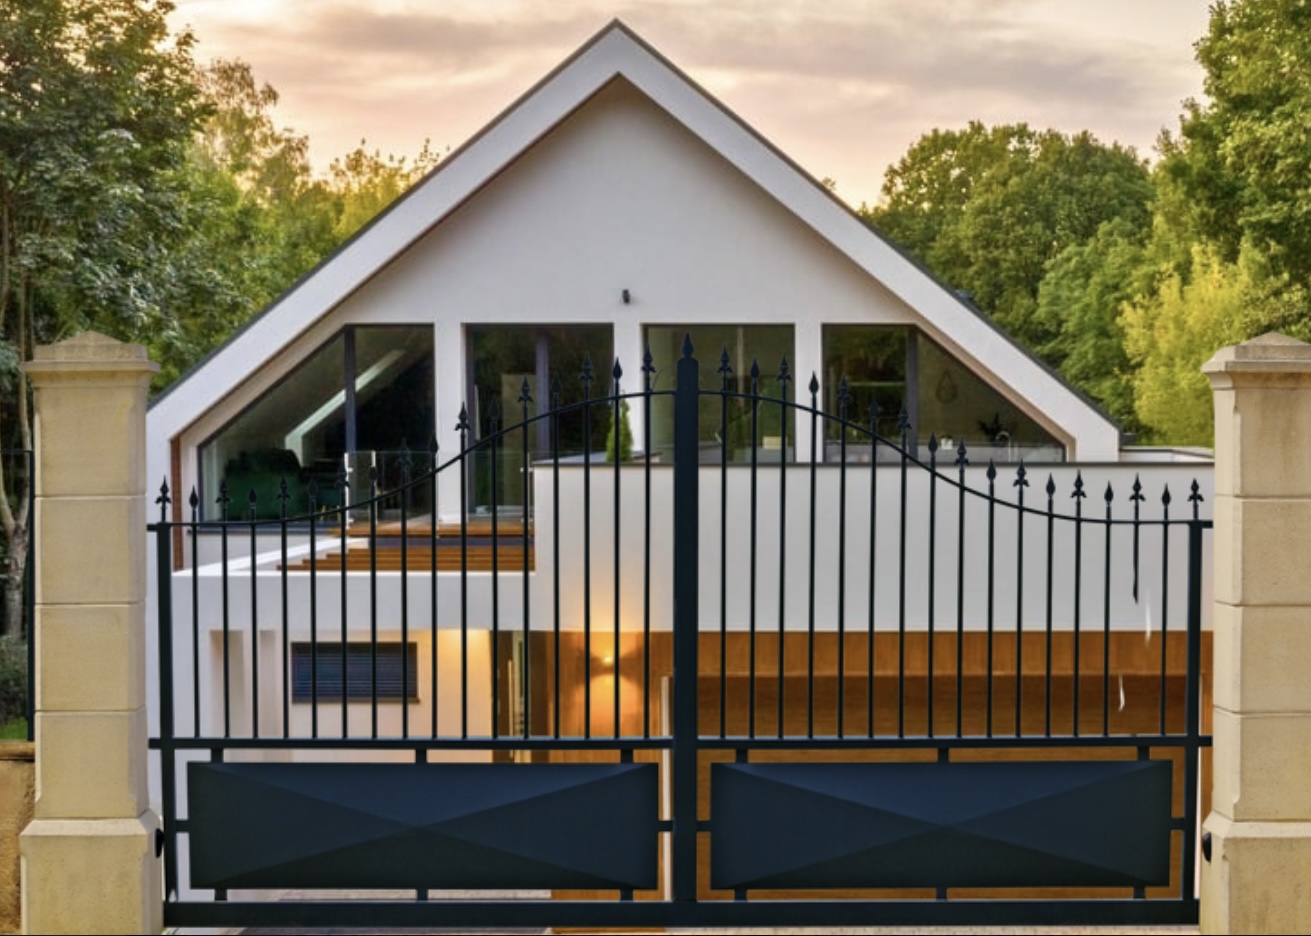
So the next time your gate needs an upgrade, do it right—with the right process and trusted paint partners like A-Plus® Paints.
You’ll end up with a gate that’s not only beautiful, but also protected from rust for years to come.
👍 Good job, Ka-A-Plus!