Prepared by: A-Plus Buddy Eric & A-Plus Buddy Ela
Last updated: Jul 28, 2025
How to Protect Your Steel Roof from Rust and Leaks
Your step-by-step guide to a longer-lasting, leak-free roof
When it’s time to clean or repaint your roof, make sure you and your contractor go beyond surface-level fixes. A proper inspection and preparation can make all the difference in extending your roof’s life for years to come.
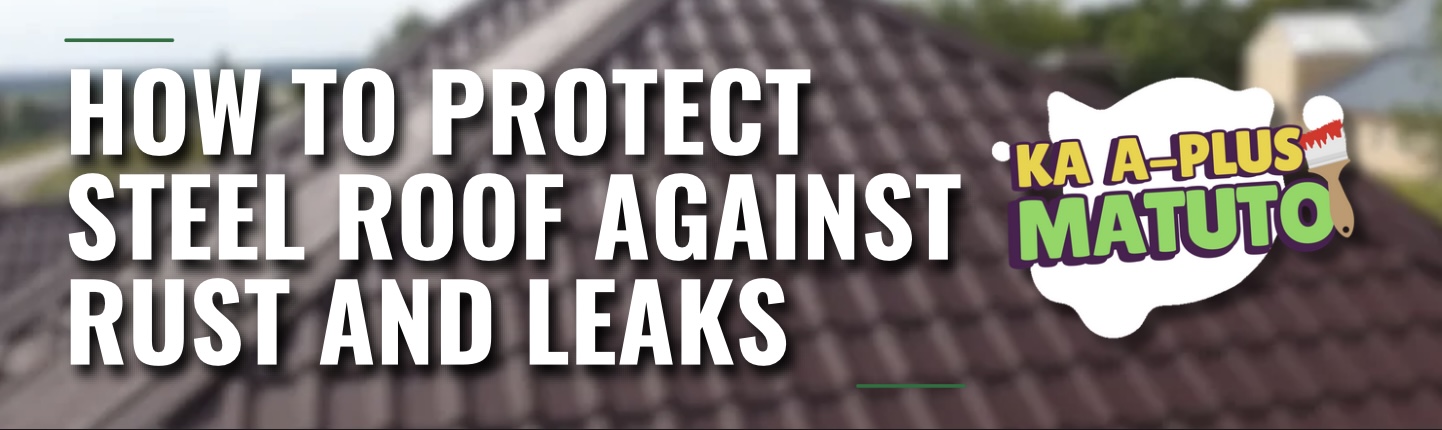
Yes, checking your roof can feel like a huge task—but you’re doing it now, so congratulations! 🎉
Here’s a complete guide on what you need to do to get the job right:
Surface Preparation
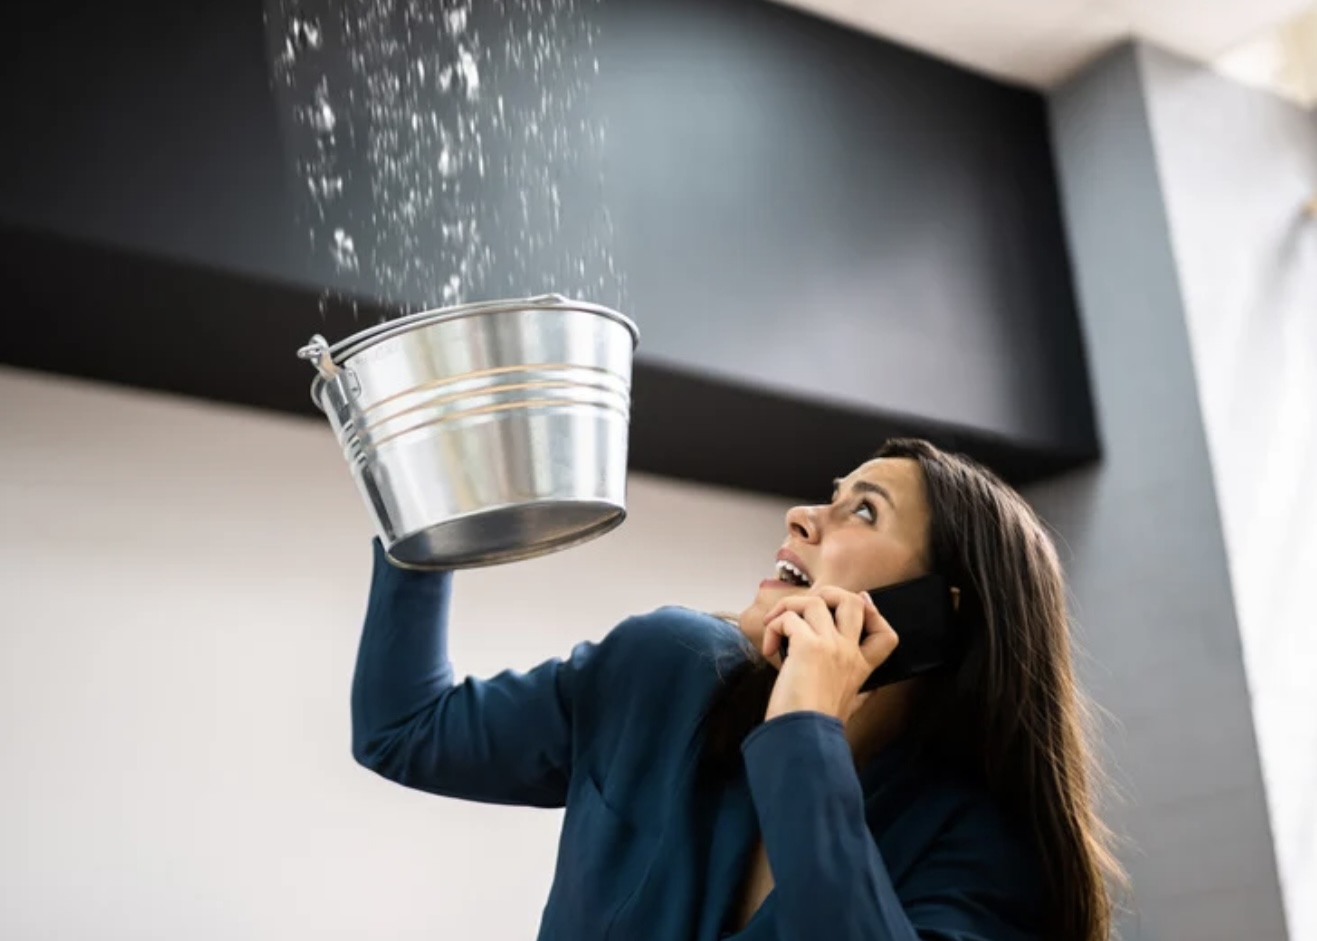
The first thing you need to do is to thoroughly clean and inspect your roof for areas where there is creeping rust and sources of leaks.
First of all , if there are leaks, now is the time to thoroughly check the source or sources of leaks.
A blanket operation to paint over or waterproof the entire roof may or may not hit the spot. So don’t leave anything to chance and find that culprit.
Next, you want to check the areas where rust is present or beginning to show. Chances are the holes or leaky joints you discover may also be rusting.
Now let’s get to work preparing your substrate.
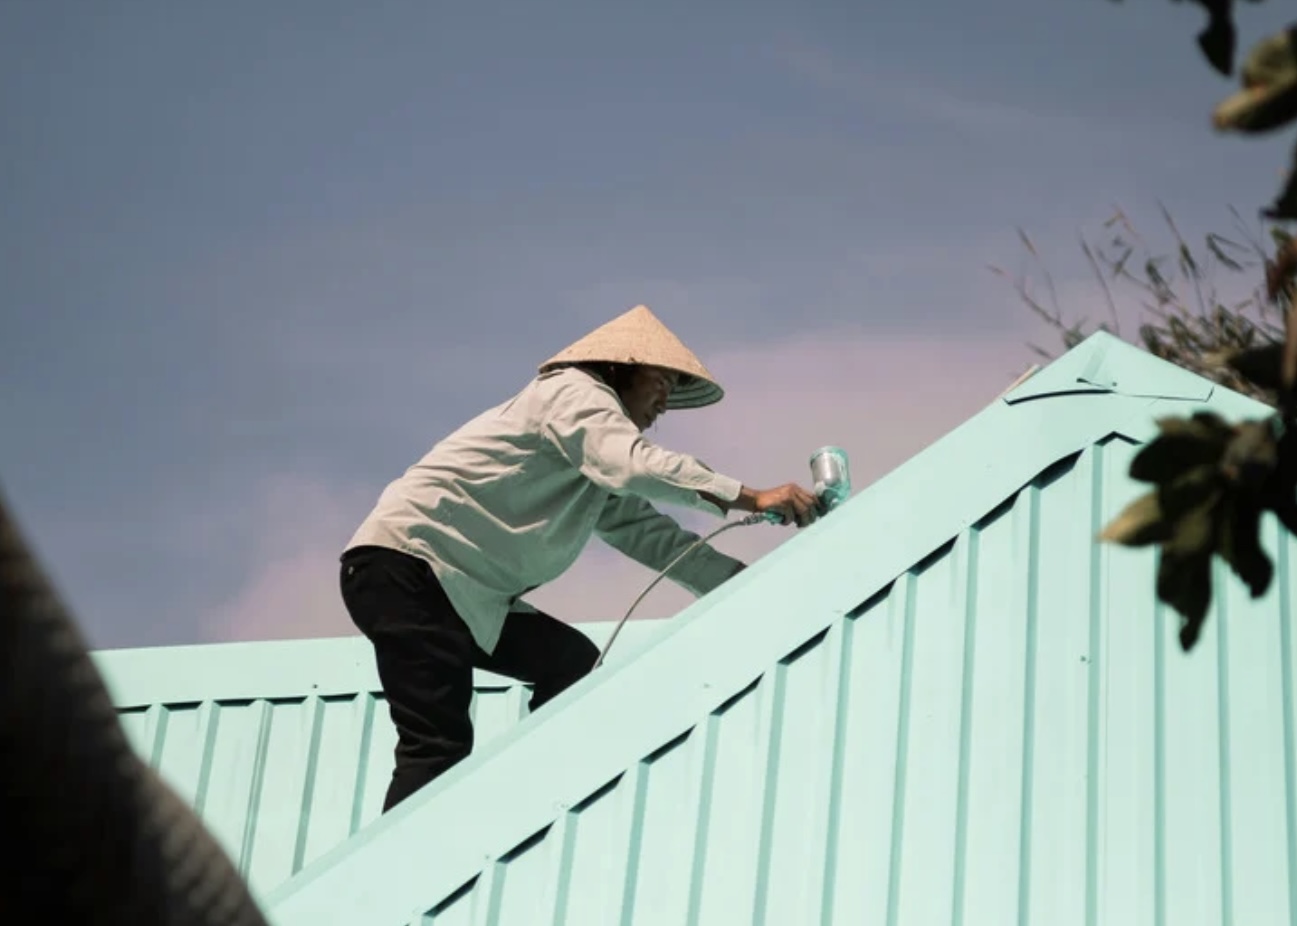
Remove old flaky paint
First, we want to remove old chipping paint around areas we want to work on. This used to involve scrapping and vigorously sanding but now you can opt to use a paint remover such as A-Plus Supertanggal® Paint and Varnish Remover to easily remove old paint.
How to use:
- Apply to old painted surfaces.
- Wait 10 minutes.
- Watch the paint wrinkle and lift!
- Scrape off effortlessly with a spatula or putty knife.
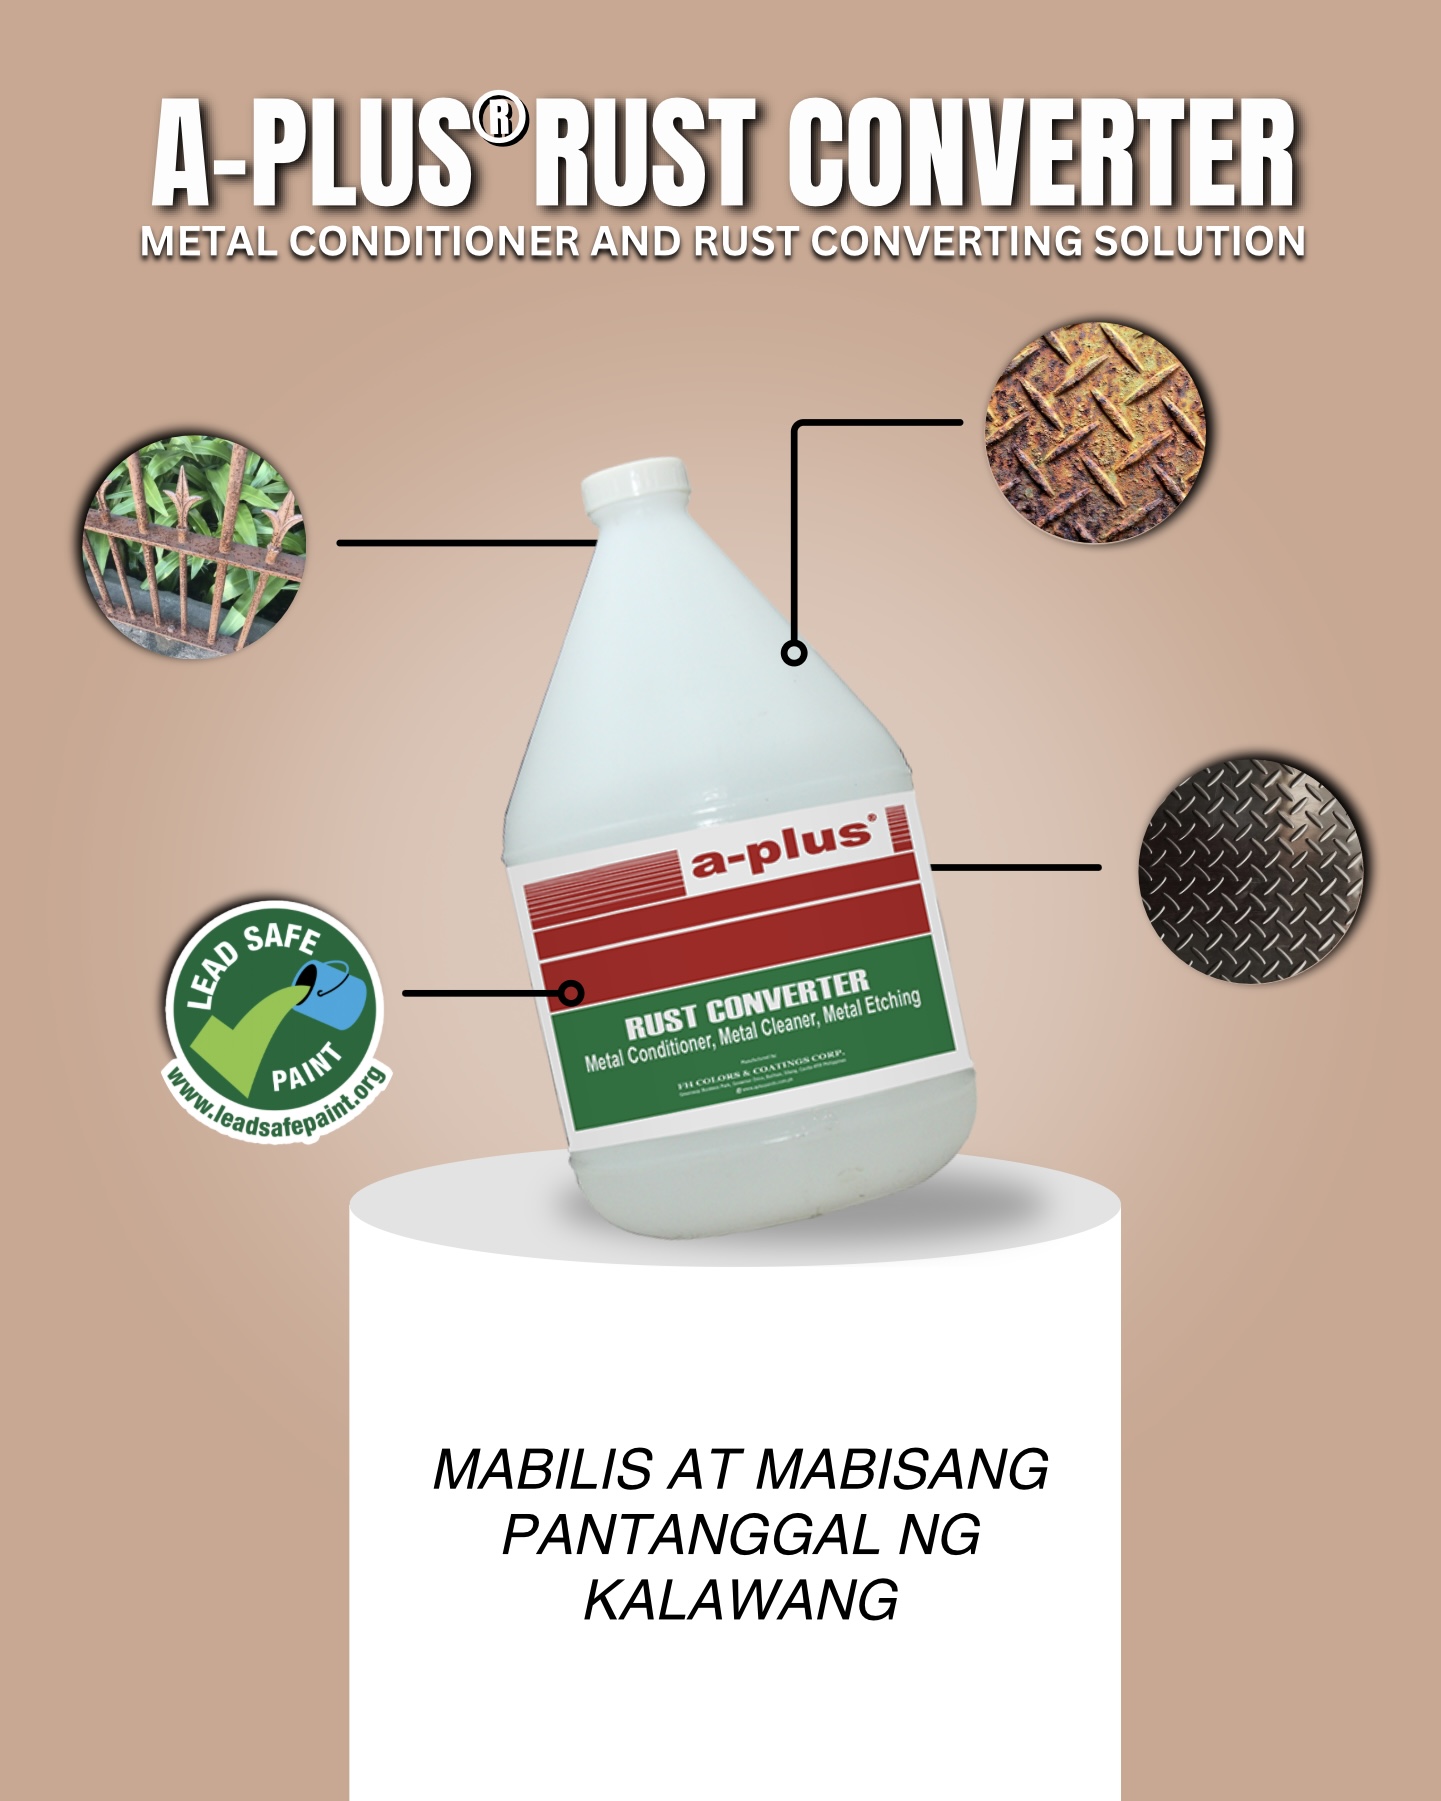
Treat Rusty Areas
Next, we want to treat those nasty rust that is starting to eat up your roof.
Prepare the roof by cleaning it with a steel brush and/or sand paper. You want to remove as much rust as you can first with the steel brush and then with the sand paper. You will not be able remove all the rust but you don’t need to.
You can now apply A-Plus® Rust Converter to the rust affected areas. A-Plus® Rust Converter Is an amazing product as it literally converts iron oxide or ‘rust’ into iron phosphate, a black protective coating against moisture and further corrosion and promote better adhesion. Rust is gone and all you are left with is that shiny black protective coating.
Great job so far! Remember proper surface preparation is a key atep towards ensuring the paint or waterproofing you apply will stick and last for a long long time.
Prime for Rust Protection
After removing the old paint and all that nasty rust, your substrate is now bare again and you will need to apply a trusty primer to protect it from rusting again and to ensure the new paint you will apply will stick to it like forever. Your best bet here is to apply a two component epoxy primer such as Glazer Glava-Plus® Epoxy Primer. This is a two-component, heavy-duty epoxy primer that:
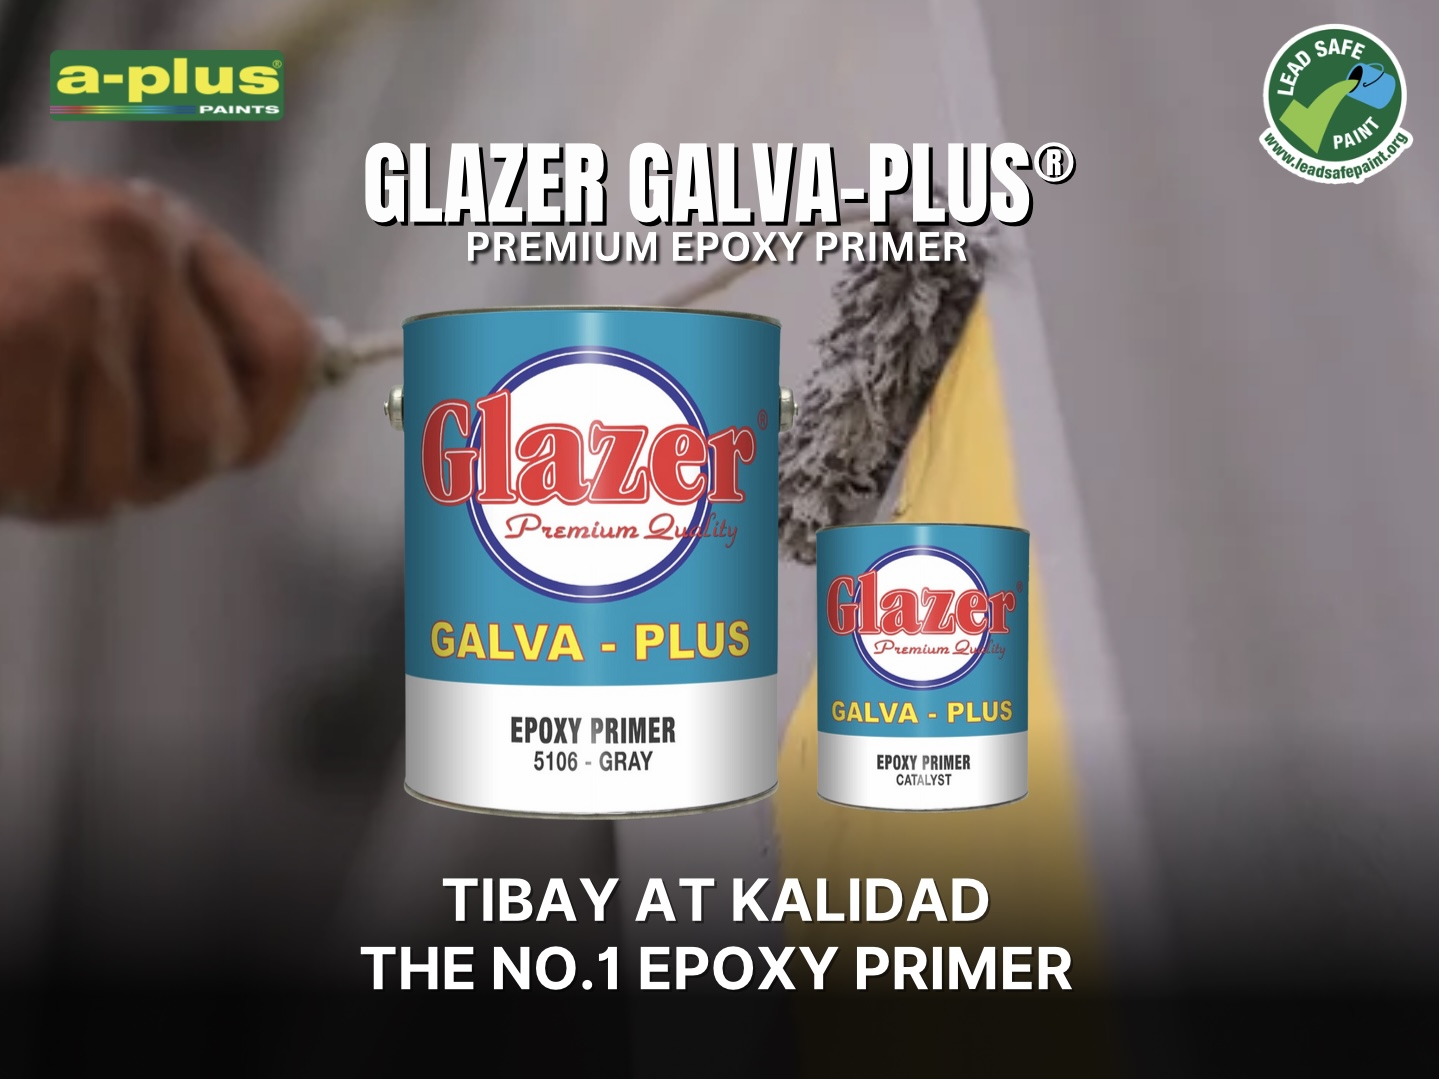
⚠️ Important Reminder: Epoxy Primers are not UV stable so always topcoat with your preferred roofing paint after to ensure lasting protection against rust and corrosion.
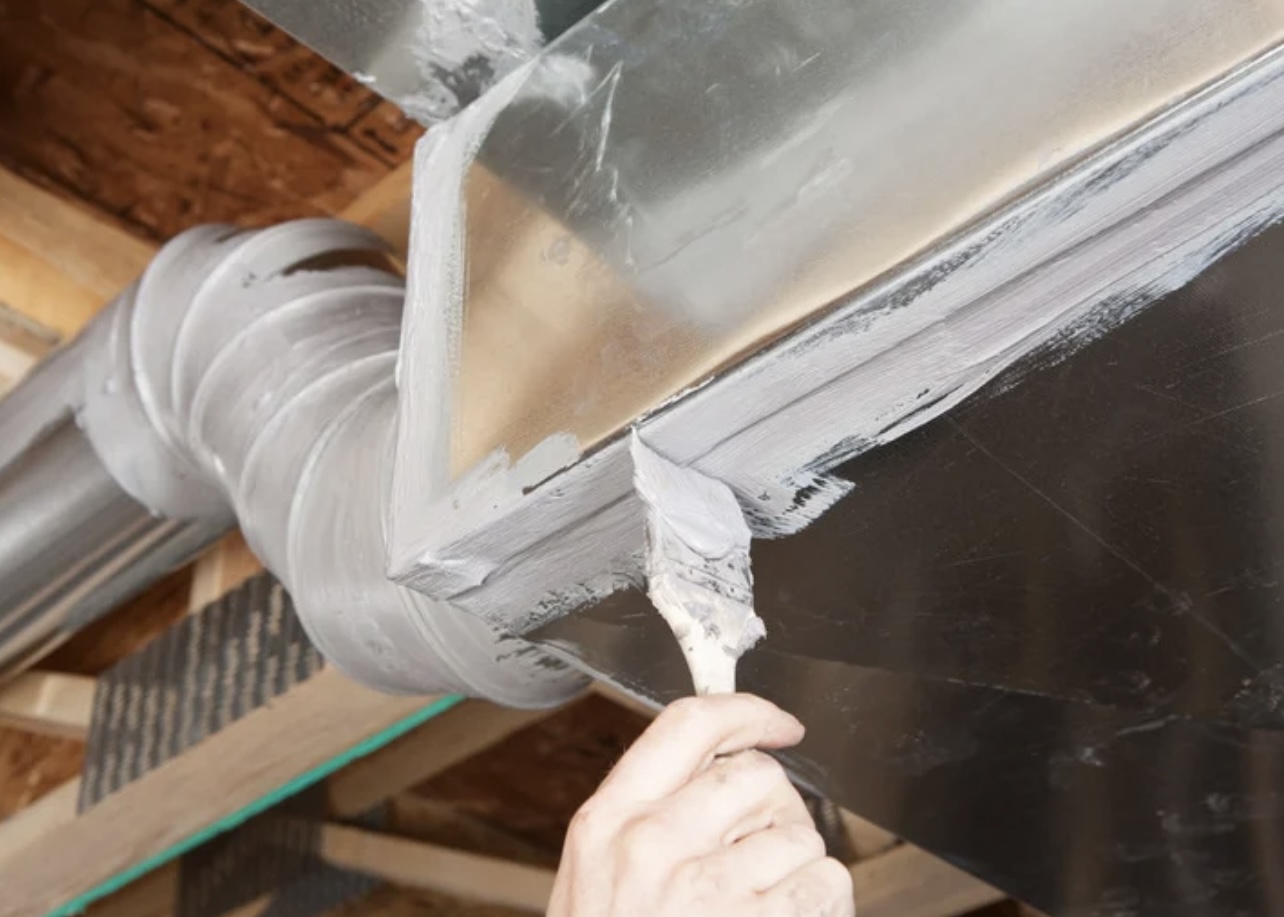
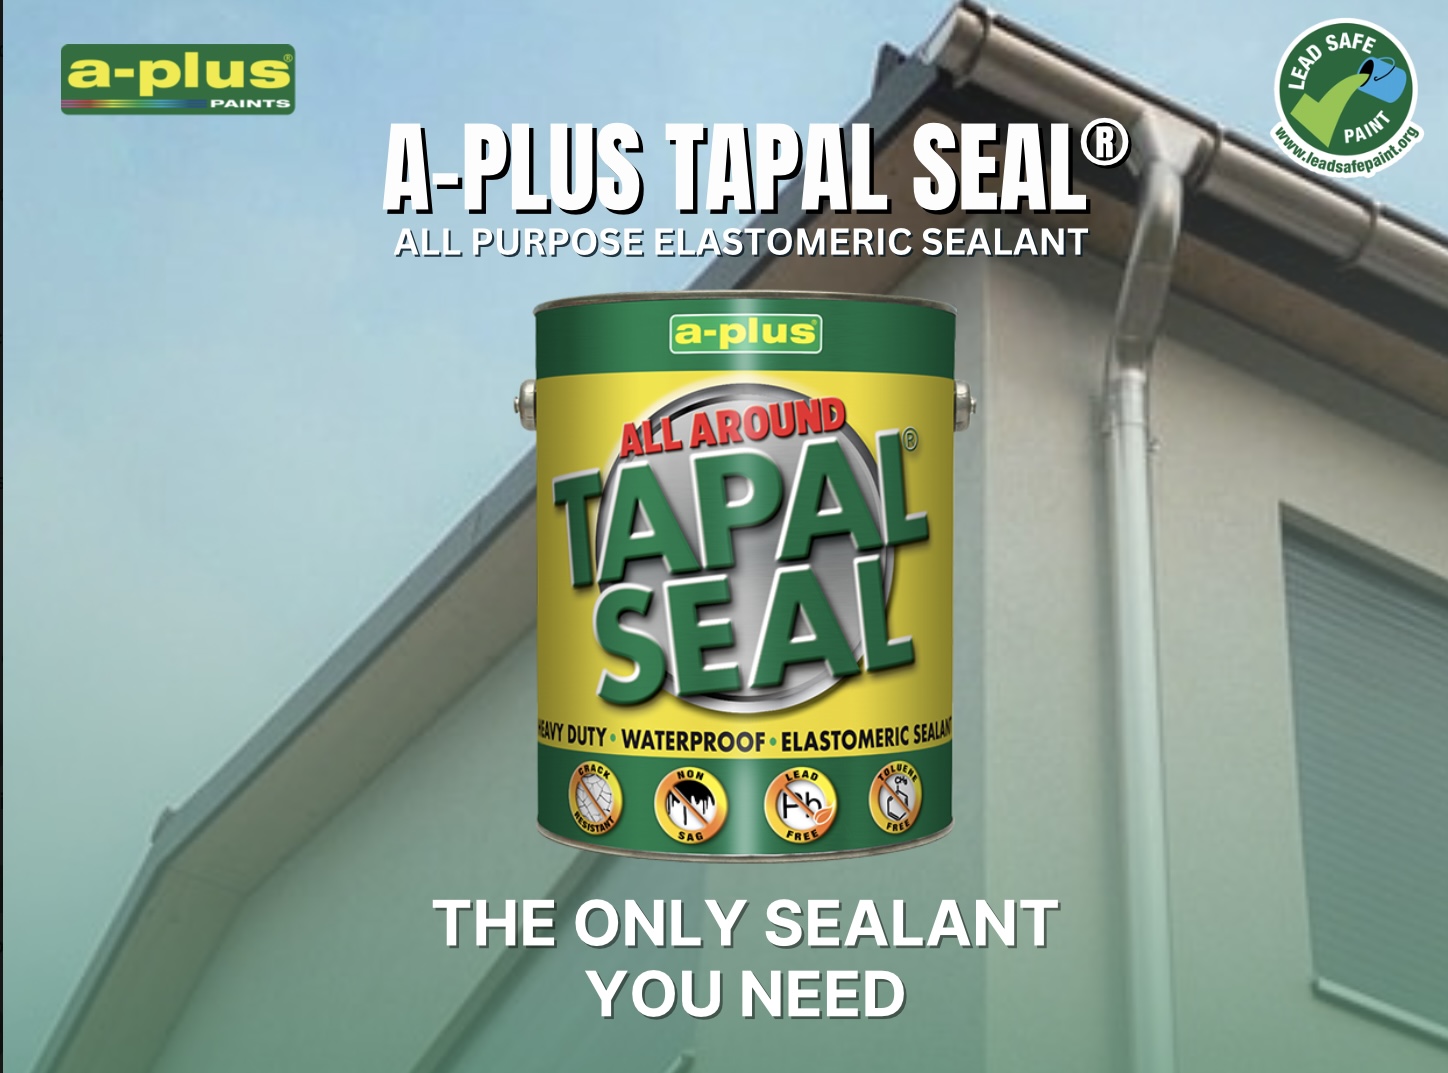
Seal Small Holes & Joints
For small areas such as holes or joints, you may now use a sealant to block water and moisture from entering. Your best bet here is to use an elastomeric sealant such as A-Plus Tapal Seal® All Purpose Elastomeric Sealant to do the job right!
Apply and spread A-Plus Tapal Seal® All-Purpose Elastomeric Sealant using either a putty knife or spatula over the affected areas. This product cures within 2-3 hours. Let it dry 2-3 days for it to fully harden to a rubber-like gasket material
Waterproof Larger Areas
For larger areas that you wish to waterproof, you may also use A-Plus Tapal Seal® All-Purpose Elastomeric Sealant as a waterproofing agent.
In this case, you may dilute and mix in a separate container A-Plus Tapal Seal® All-Purpose Elastomeric Sealant with water at a 2:1 ratio, respectively. Then using a roller or brush, apply mixture liberally over target areas for at least 2-3 coats. Allow to cure overnight before you do any other work it such as painting a final roofing topcoat. This product cures within 2-3 hours. Let it dry 2-3 days for it to fully harden to a rubber-like gasket material.
Finish with a Roof Topcoat A-Plus Powerroof®
Don’t forget this crucial final step: Topcoat your roof with A-Plus Powerroof®.
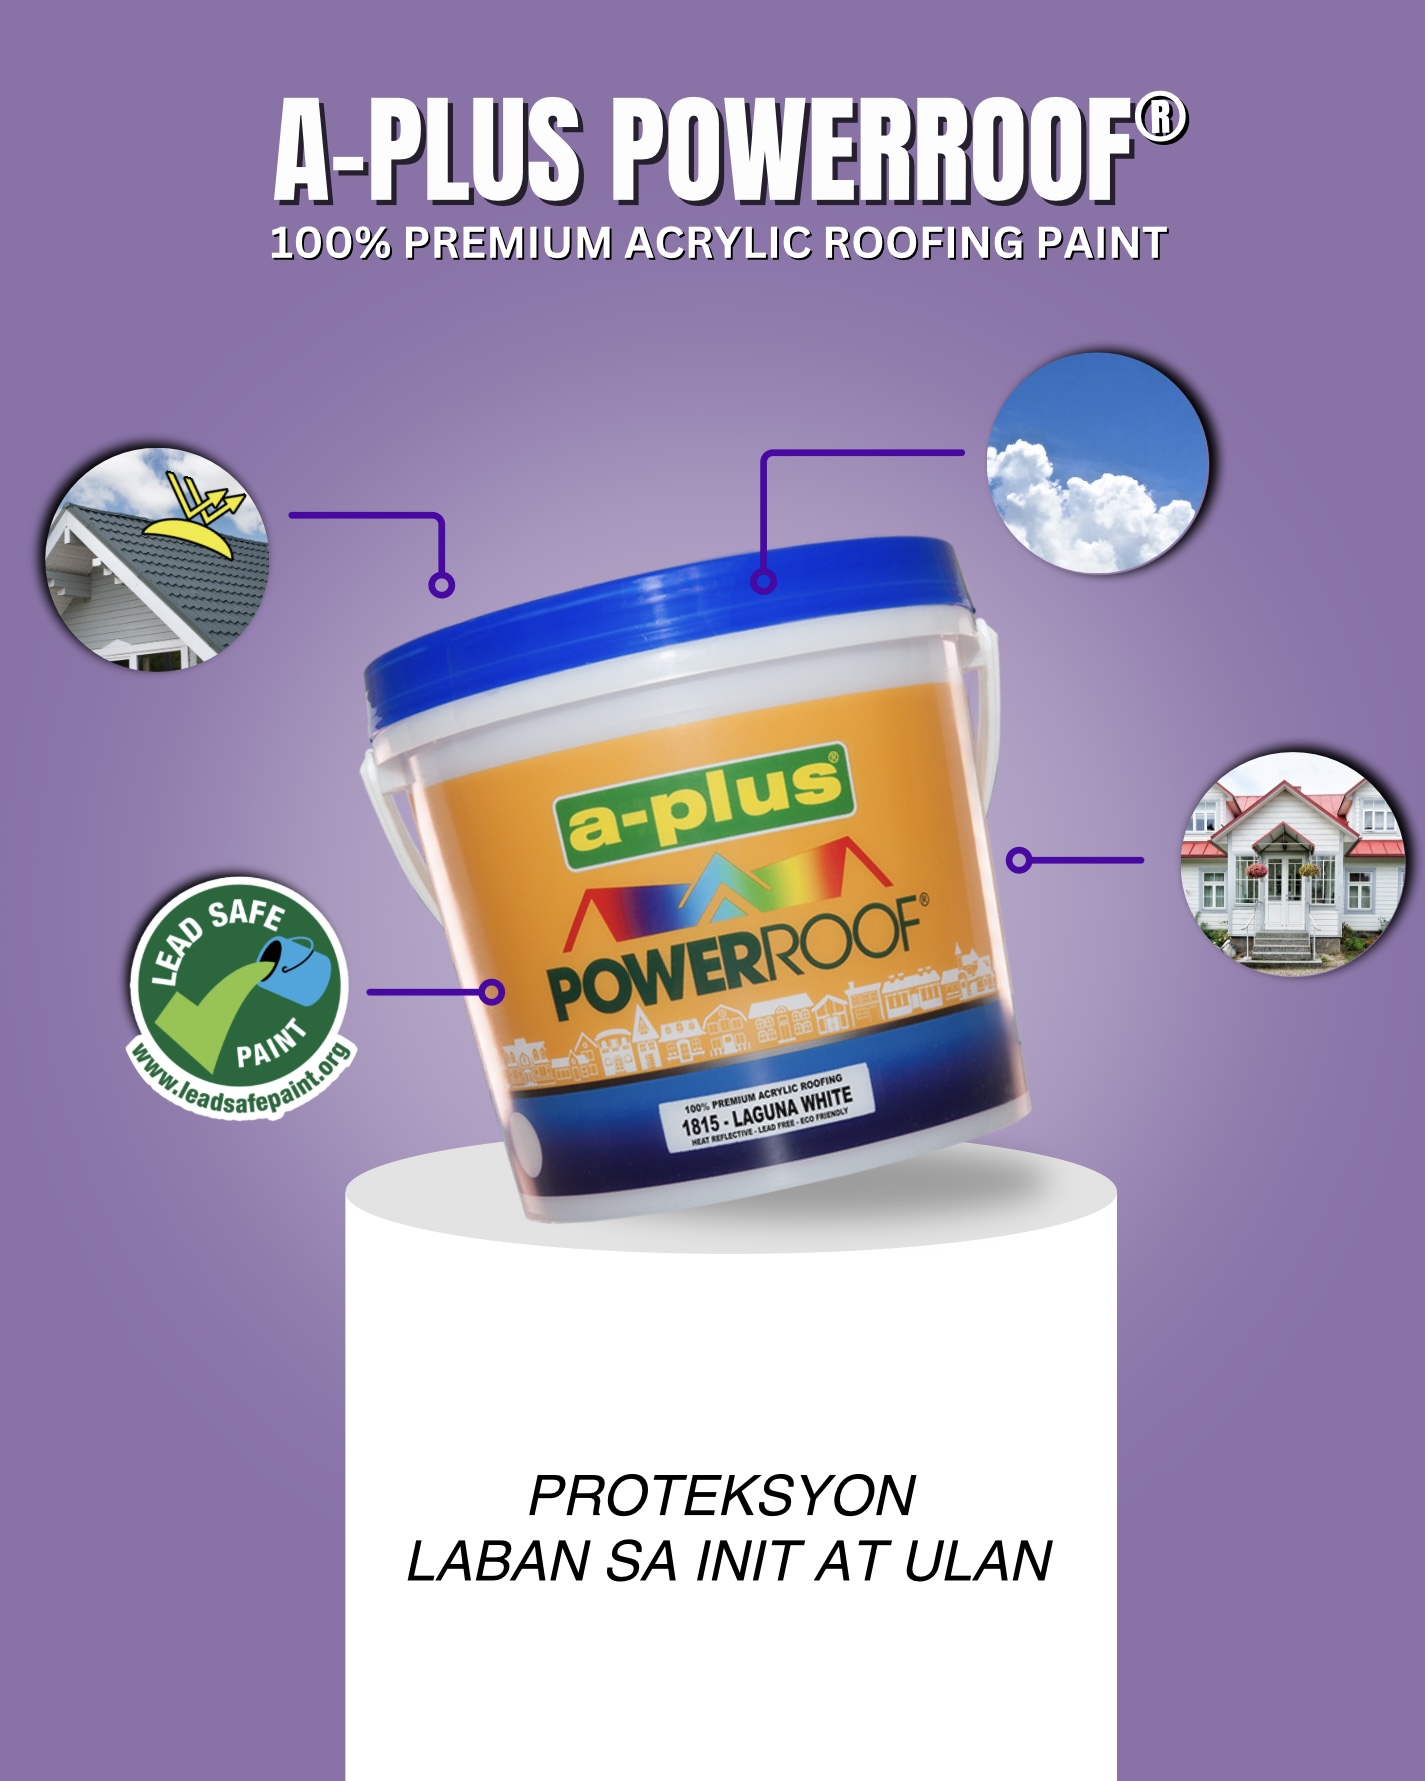
A-Plus Powerroof® 100- Premium Acryic Roofing Paint are ideal for galvanized iron sheets.
This topcoat:
- Provides excellent UV and weather protection
- Is dirt-resistant and long-lasting
- Comes in glossy, durable finishes
Do not skip this final step as epoxy primers need to applied a final topcoat as they are not UV stable. Rest assured also that A-Plus Tapal Seal® All-Purpose Elastomeric Sealant is fully paintable.
Mission Accomplished! 🎉
You’ve done a thorough job sealing, protecting, and painting your roof. Not only are you safe from leaks and rust—you’ve also given your home a fresh new look and extended its protection for years to come.
Good job, Ka A-Plus! 💪